
To set up Microsoft Outlook with Runbox, please follow the step-by-step instructions below. The set up screens for Windows and macOS are very similar so we have included only one set of instructions that should work for both.
Note that the set-up process and dialogue boxes on your computer may vary from what is shown here, depending on what version of Outlook for Mac you are using.
Add a new account to Outlook
1. To add a new account go to the Settings option and choose Add Account.
You will be shown the screen below.
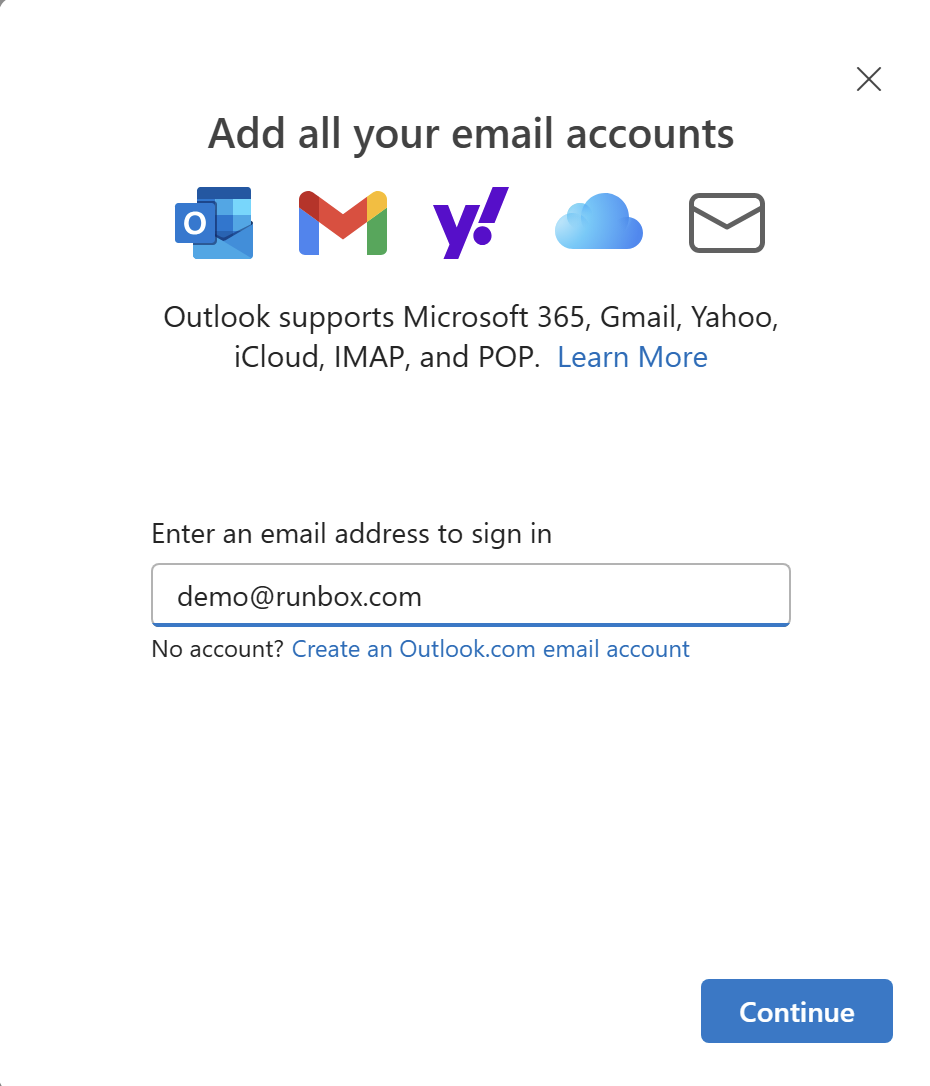
Enter your email address in the box and click Continue.
Note: Due to how Outlook attempts to set up the account you will need to let it fail the automatic set up before you can access the settings needed to make your Runbox account work.
When you see the screen below, close it with the cross in the upper right corner. You will then be show the screen below.

Click on Advanced Setup.
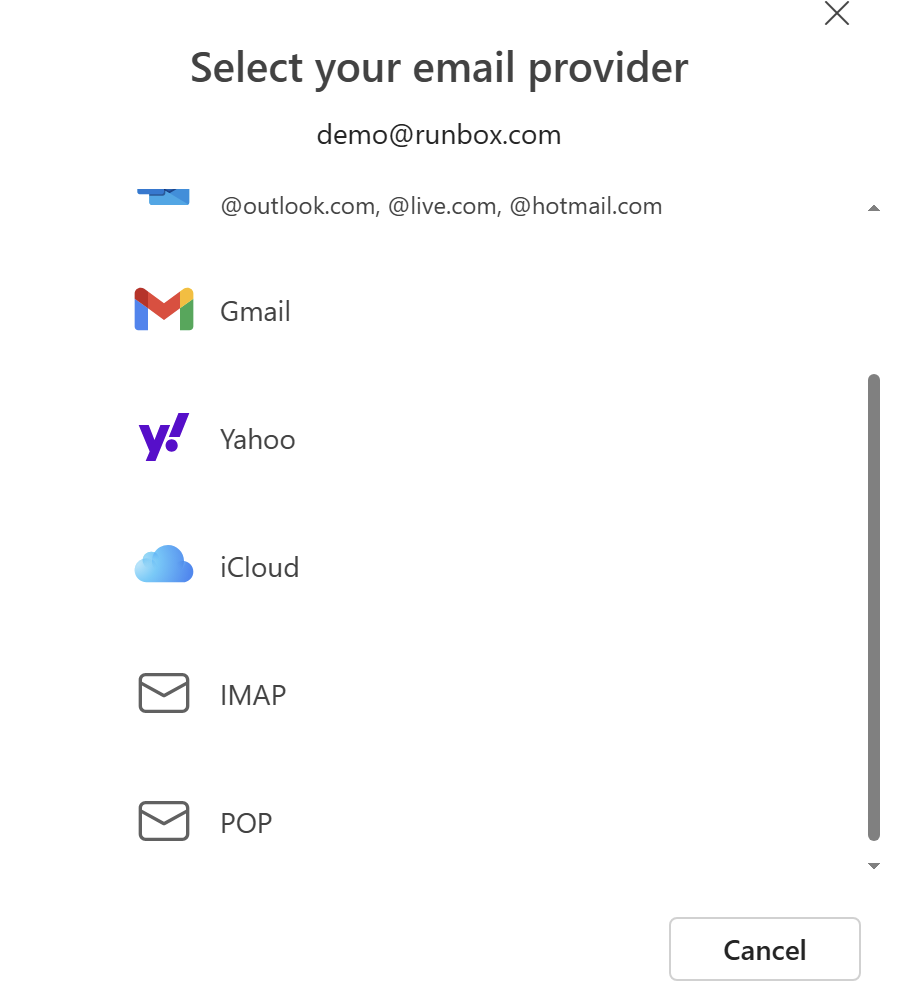
Click on the IMAP option. You will see the screen below. This screen is longer so we’ve split our images in to the IMAP (incoming mail) and SMTP (outgoing mail) parts.
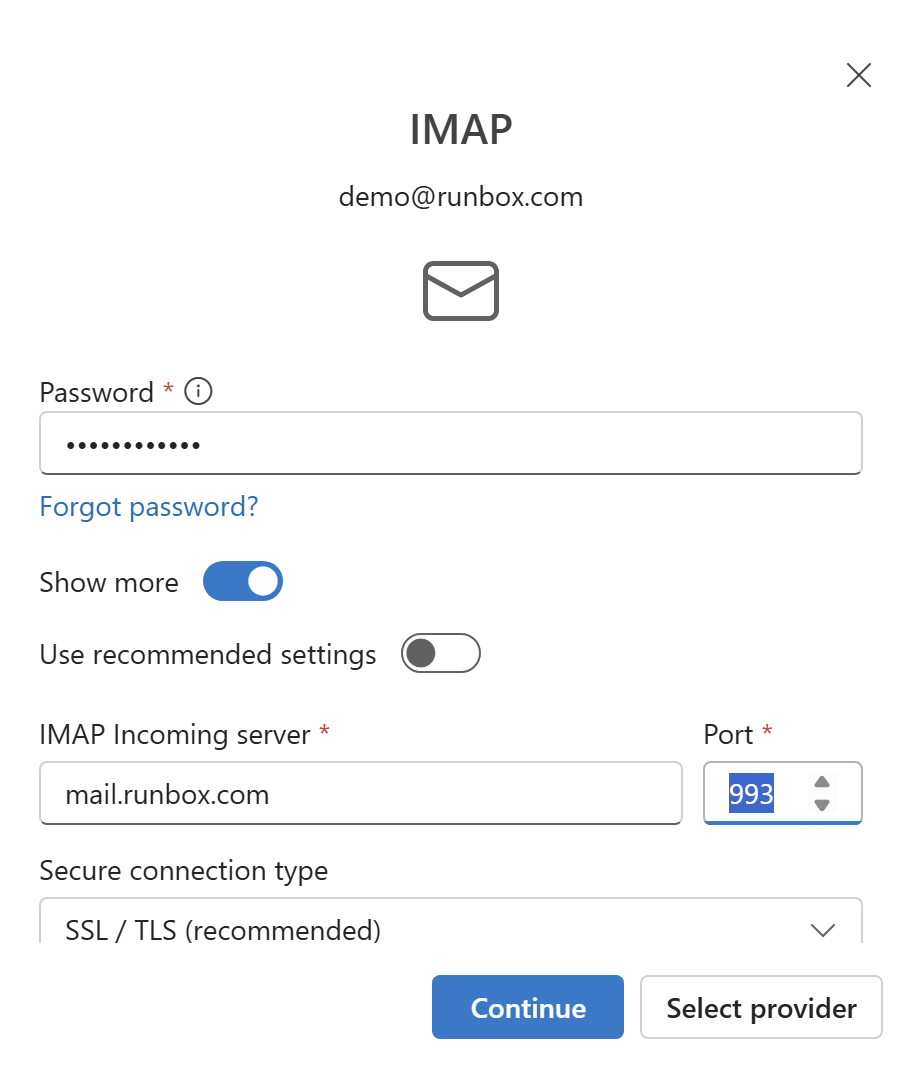
Enter the Server Details
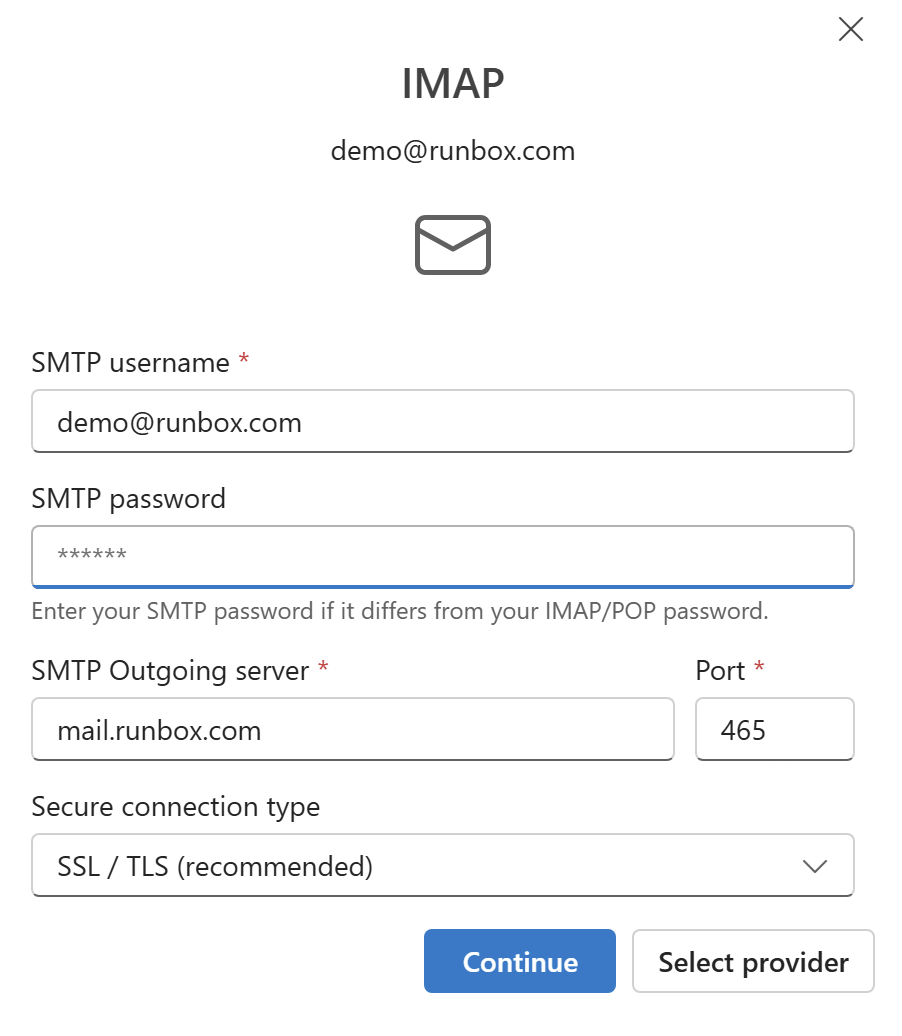
Note: When you first create your Runbox account SMTP (outgoing mail) will be unavailable to you until you either a) validate your alternative email address (we send a validation link there when you create the account) or b) pay for a subscription. If you don’t do either of these things you will get a username/password error when trying to use our outgoing SMTP server.
Enter the details for your own account, plus the server details for Runbox.
Incoming Mail Server (IMAP): mail.runbox.com
Outgoing Mail Server (SMTP): mail.runbox.com
Username: your primary Runbox email address (aliases cannot be used as log in usernames)
You can find information about the latest server details on our Email Client Settings page and below in the images.
When you have entered the required information click Add Account.

On the next screen you can check the details for the account.
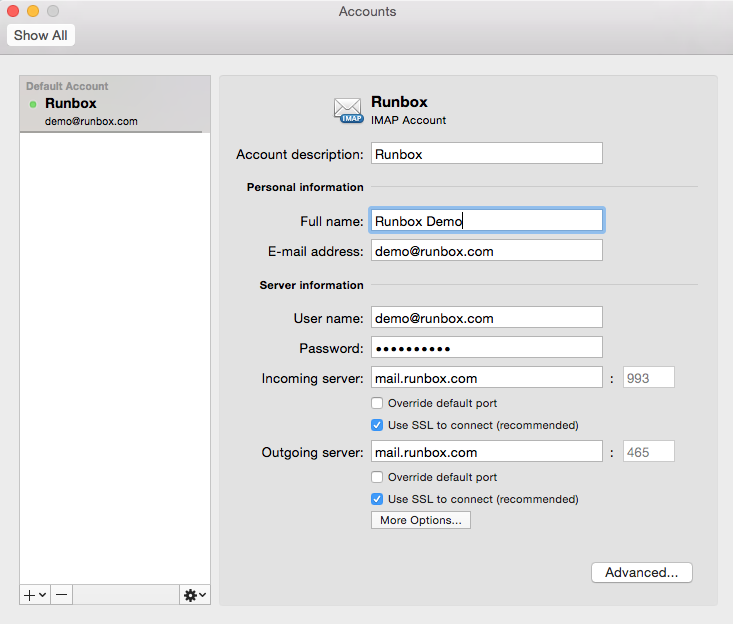
Under the Outgoing server settings click on the More options… button and you will be taken to the screen where you can set up the outgoing server username and password settings.
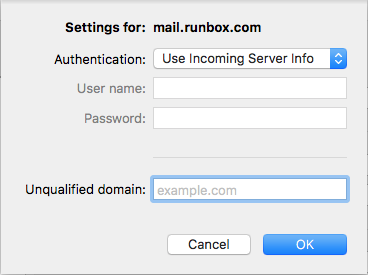
Choose Use Incoming Server Info as the setting. This will mean Outlook will now use the username and password for the Incoming server settings for the Outgoing server settings also, which is correct. Then click OK.
The final setting you need to change is under the Advanced… section.
Configure Account Settings
Click on the Folders tab.
You shouldn’t have to make any changes here unless you have a reason to. The default settings will be to store Sent, Drafts, Junk and Trash in the similarly named server folders. For example “Sent (Server)” indicated the Sent folder on the server.
When you are done click OK.

You have now completed the set up of your Runbox account in Outlook.