
DKIM (DomainKeys Identified Mail) is an email authentication method that places a digital signature (a piece of code) in the headers of your outgoing mail. This helps receiving email servers identify if the message was genuinely sent by you, the domain owner, and confirms that certain aspects of the message have been unchanged since the digital signature was added.
You can find more general information about DKIM at Wikipedia.
Domains registered through Runbox
If you have your domain name registered and hosted by Runbox, your DNS (Domain Name System) records are usually managed by us (unless you have requested something different). This makes it very easy to set up DKIM signing as you just need to activate it below and our systems will place the required DNS CNAME (Canonical Name) entries on our name servers for your domain.
Domains registered through another company
If your domain is not hosted/registered via Runbox then we probably don’t host your DNS records and you will need to make some changes at your domain host/DNS host after you have created the DKIM keys in your Runbox account.
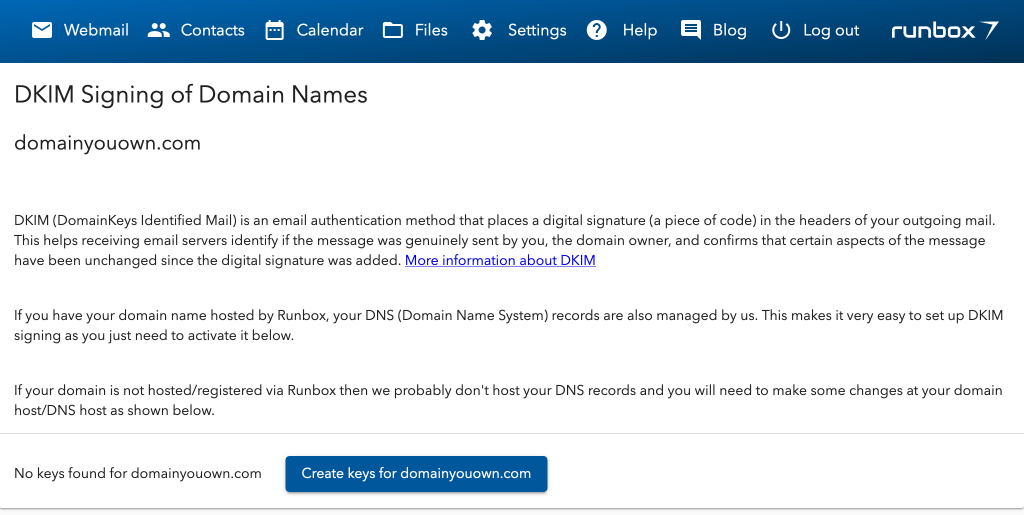
In the screenshots below we show an example domain (domainyouown.com) and how DKIM is set up.
Creating keys for your domain
To create DKIM keys for your domain name, first navigate to Account > Email Hosting and locate your domain name in the list. (If your domain name is not listed it is probably set up with another service and you will need to use that service to set up DKIM keys.)
Click the “DKIM” link next to the domain name to open the following screen that will let you create DKIM keys:
Click on “Create keys for…”. This will create the keys on our servers that will be used for signing your emails. Two keys are created, a private key and a public key. This is called a private/public key pair. The private key is used to sign your messages and is only available to the Runbox outgoing mail servers. The public key is published on our own dedicate DKIM DNS servers and can be seen by anyone who cares to look for it.
In total, two sets of private/public key pairs are created but only one pair used at any time. This is for additional security and at three month intervals the keys that are used are swapped for a different new pair.
To make it easy for other email services to find the public keys for your domain a set of CNAME records are published in your own domain’s DNS records. CNAME records just work like aliases and that means when an email service that is receiving email you have sent looks up the DKIM key for your domain using the information in your domain’s DNS records it gets pointed to the appropriate place to look on the Runbox DKIM DNS servers to find the key.
Adding the CNAME entries
If you registered your domain via Runbox, the we probably host the DNS records for your domain. If this is the case when you create the keys for DKIM signing we will automatically publish the correct CNAME records for your DKIM keys and you don’t need to do anything further other than wait 10 minutes and then check to make sure everything is active by refreshing the DKIM page.
If we don’t host the DNS for your domain (i.e. you registered it elsewhere and just point your MX (Mail eXchanger) record to Runbox) then you will need to place the CNAME entries in your domain’s DNS yourself.
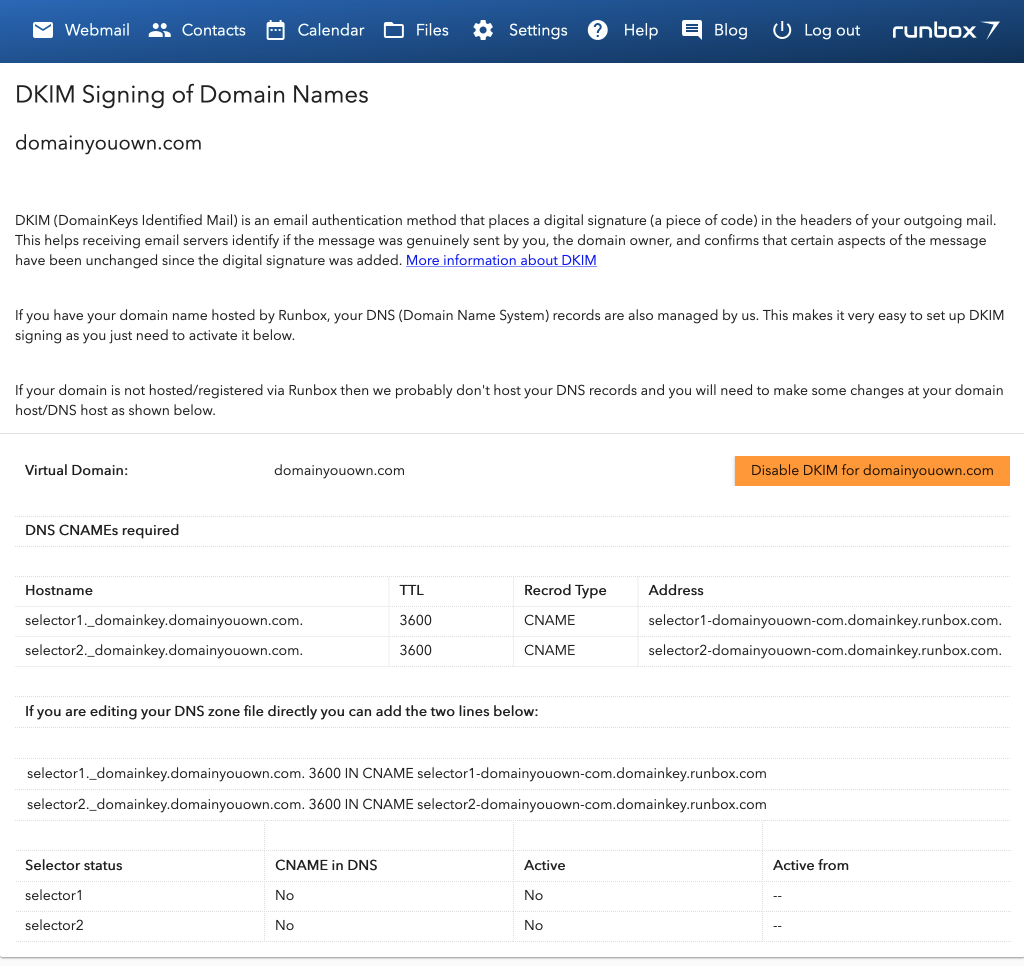
The DKIM page shows the DNS entries required. Domain hosting/DNS providers usually have their own custom designed interface for adding DNS records and they can vary from each other even though they are all similar. One of the main differences is that some providers require the trailing . (dot) after the “hostname” or “address” entries and others do not. You can probably work this out from looking at other DNS entries in their interface.
If you are using an interface such as that provided by Gandi.net then you have the choice to use their interface or add the CNAME entries in the DNS zone file format. The zone file format can look confusing if you are not familiar with it, but it does have the advantage that you can just copy and paste the two lines from our DKIM page that appear under the section about editing the DNS zone file and they will just work as all zone files have the same format.
Checking the status of the CNAMEs and DKIM keys
Once our system has published the keys and either your or our system has added the CNAME entries as described above you should wait about 10 minutes and then refresh the DKIM page to see the status of your CNAME records and the keys.

The page should now show that your CNAMES are in DNS by indicating this with the word “Yes”, and that “selector1” has it’s key active.
Selectors are just ways of identifying which of the two keys are in use, and in the signature places in the headers of your email there is some information which tells the receiving email service which selector was used so that it can look up the correct key.
Support
If you need any help with setting up DKIM signing, please contact support.