
eM Client (www.emclient.com) is an email client for Windows and macOS. It is free to use for home use, but you will need to get an free license from the developers website.
To set up eM Client with Runbox, please follow the step-by-step instructions below.
Add a new account to eM Client
To add a new account go to the menu and choose Accounts > Add Account.
We don’t recommend the Automatic Setup as it requires eM Client to automatically detect the server settings, and this often doesn’t work correctly.
Click on the Mail option and you will see the screen below.
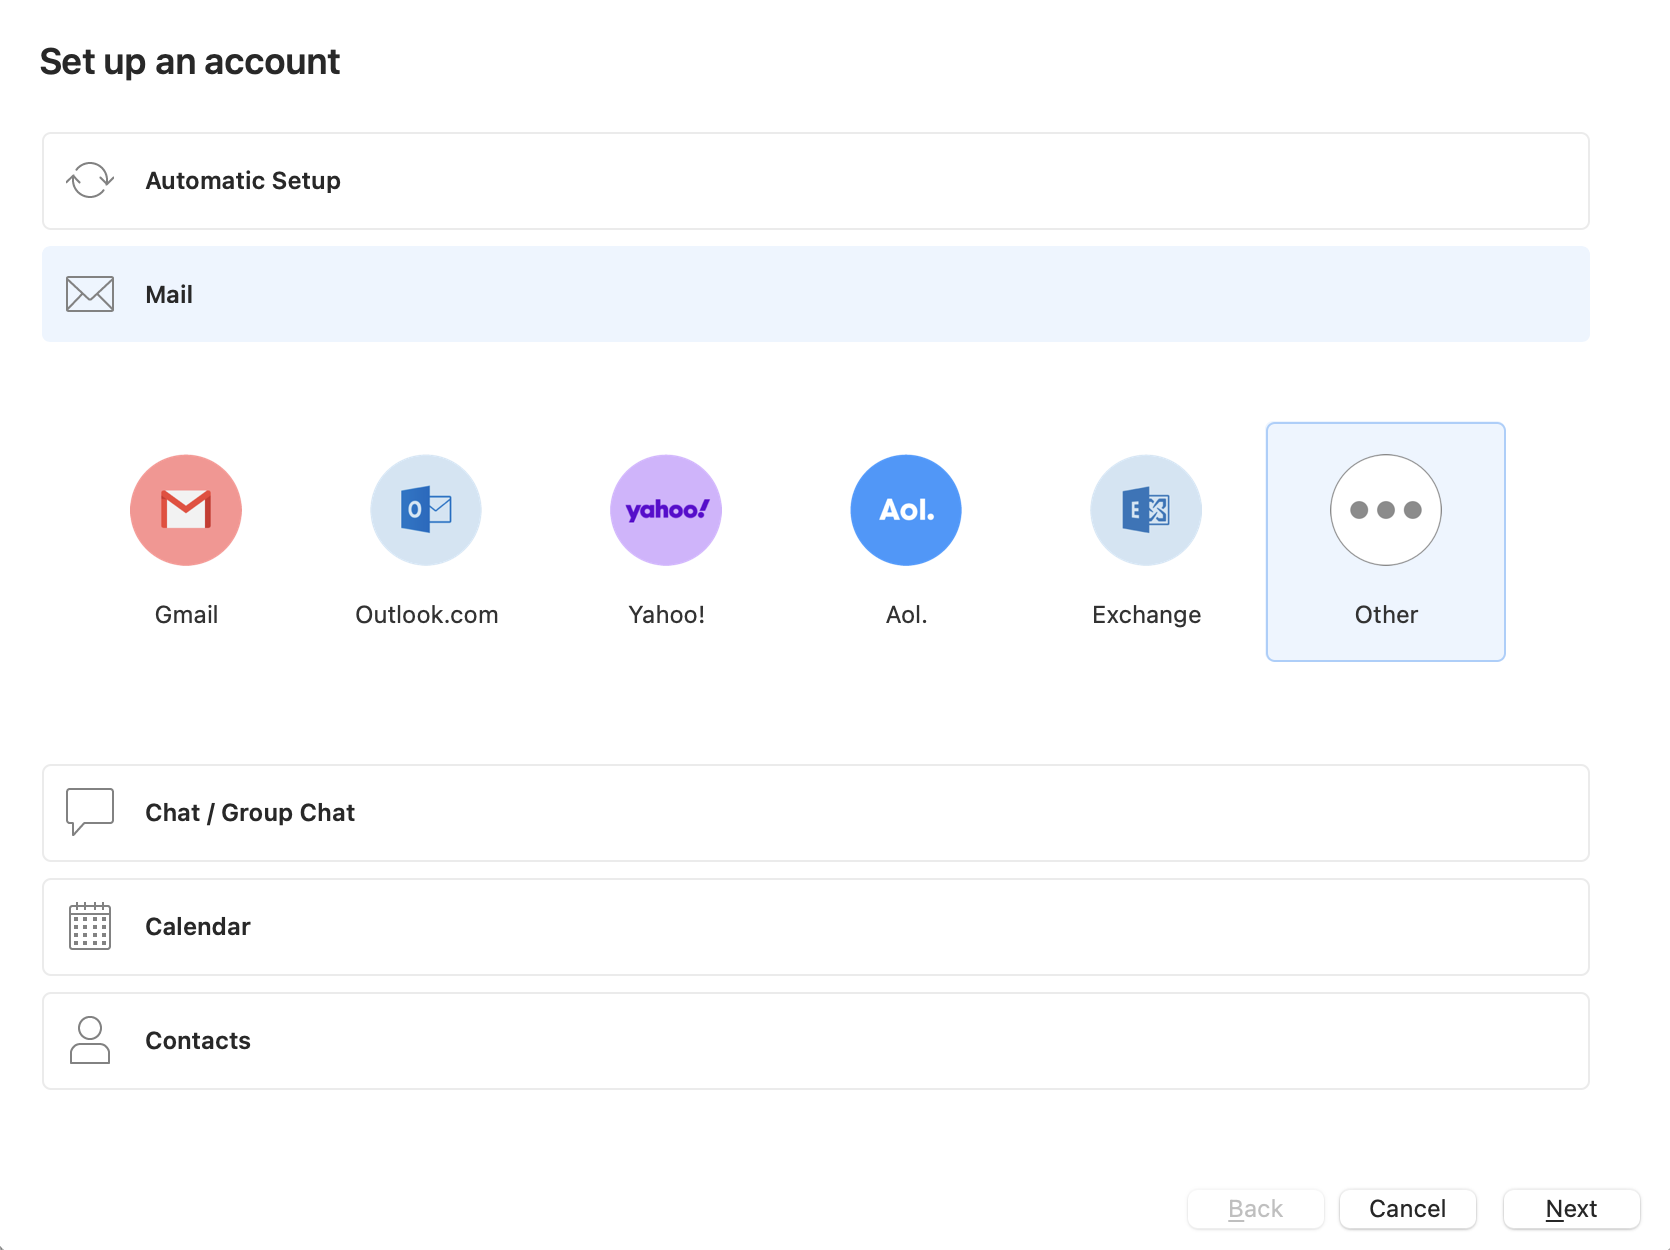
Now choose the Other option on the far right and click Next.
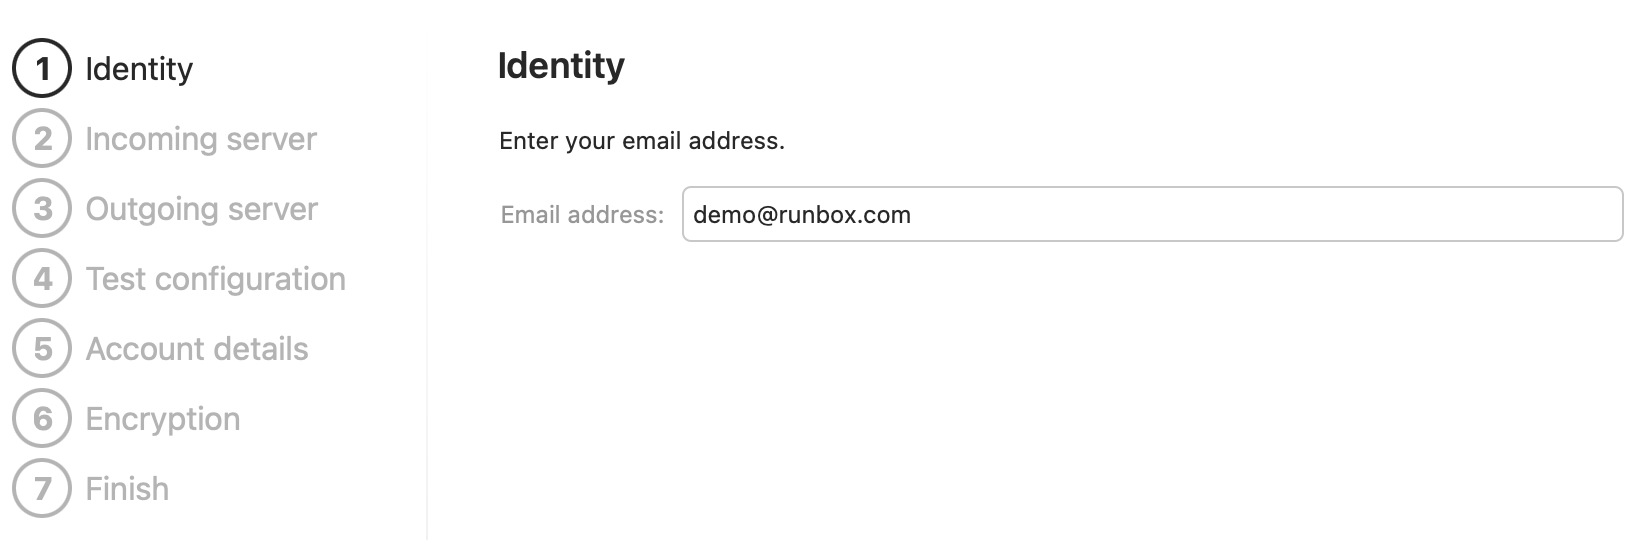
Enter your email address and click Next.
Enter the Server Details
Note: When you first create your Runbox account SMTP (outgoing mail) will be unavailable to you until you either a) validate your alternative email address (we send a validation link there when you create the account) or b) pay for a subscription. If you don’t do either of these things you will get a username/password error when trying to use our outgoing SMTP server.
You can find information about the latest server details on our Email Client Settings page and below in the images.
Incoming Mail Server: mail.runbox.com
Outgoing Mail Server: mail.runbox.com
Username: your primary Runbox email address (aliases cannot be used as log in usernames)
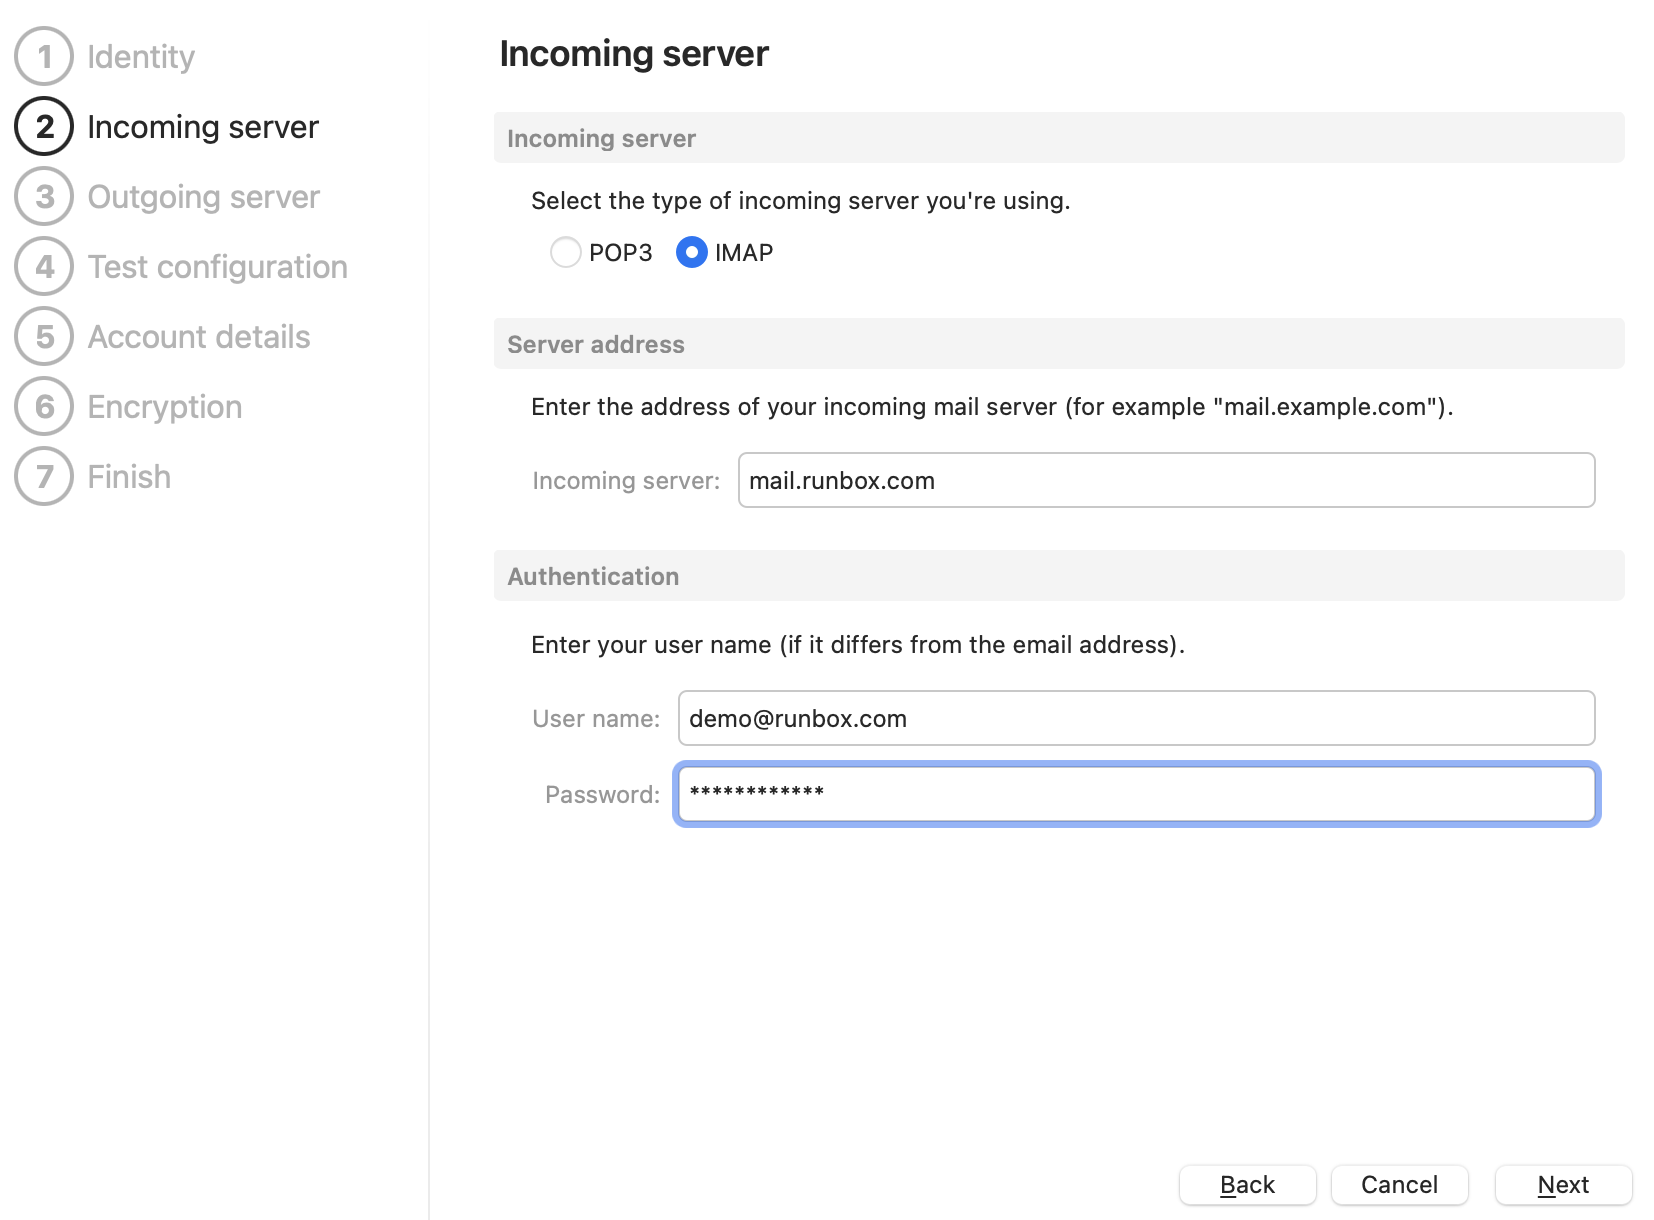
Choose the IMAP option and enter the Incoming server details along with your username and password and click Next.
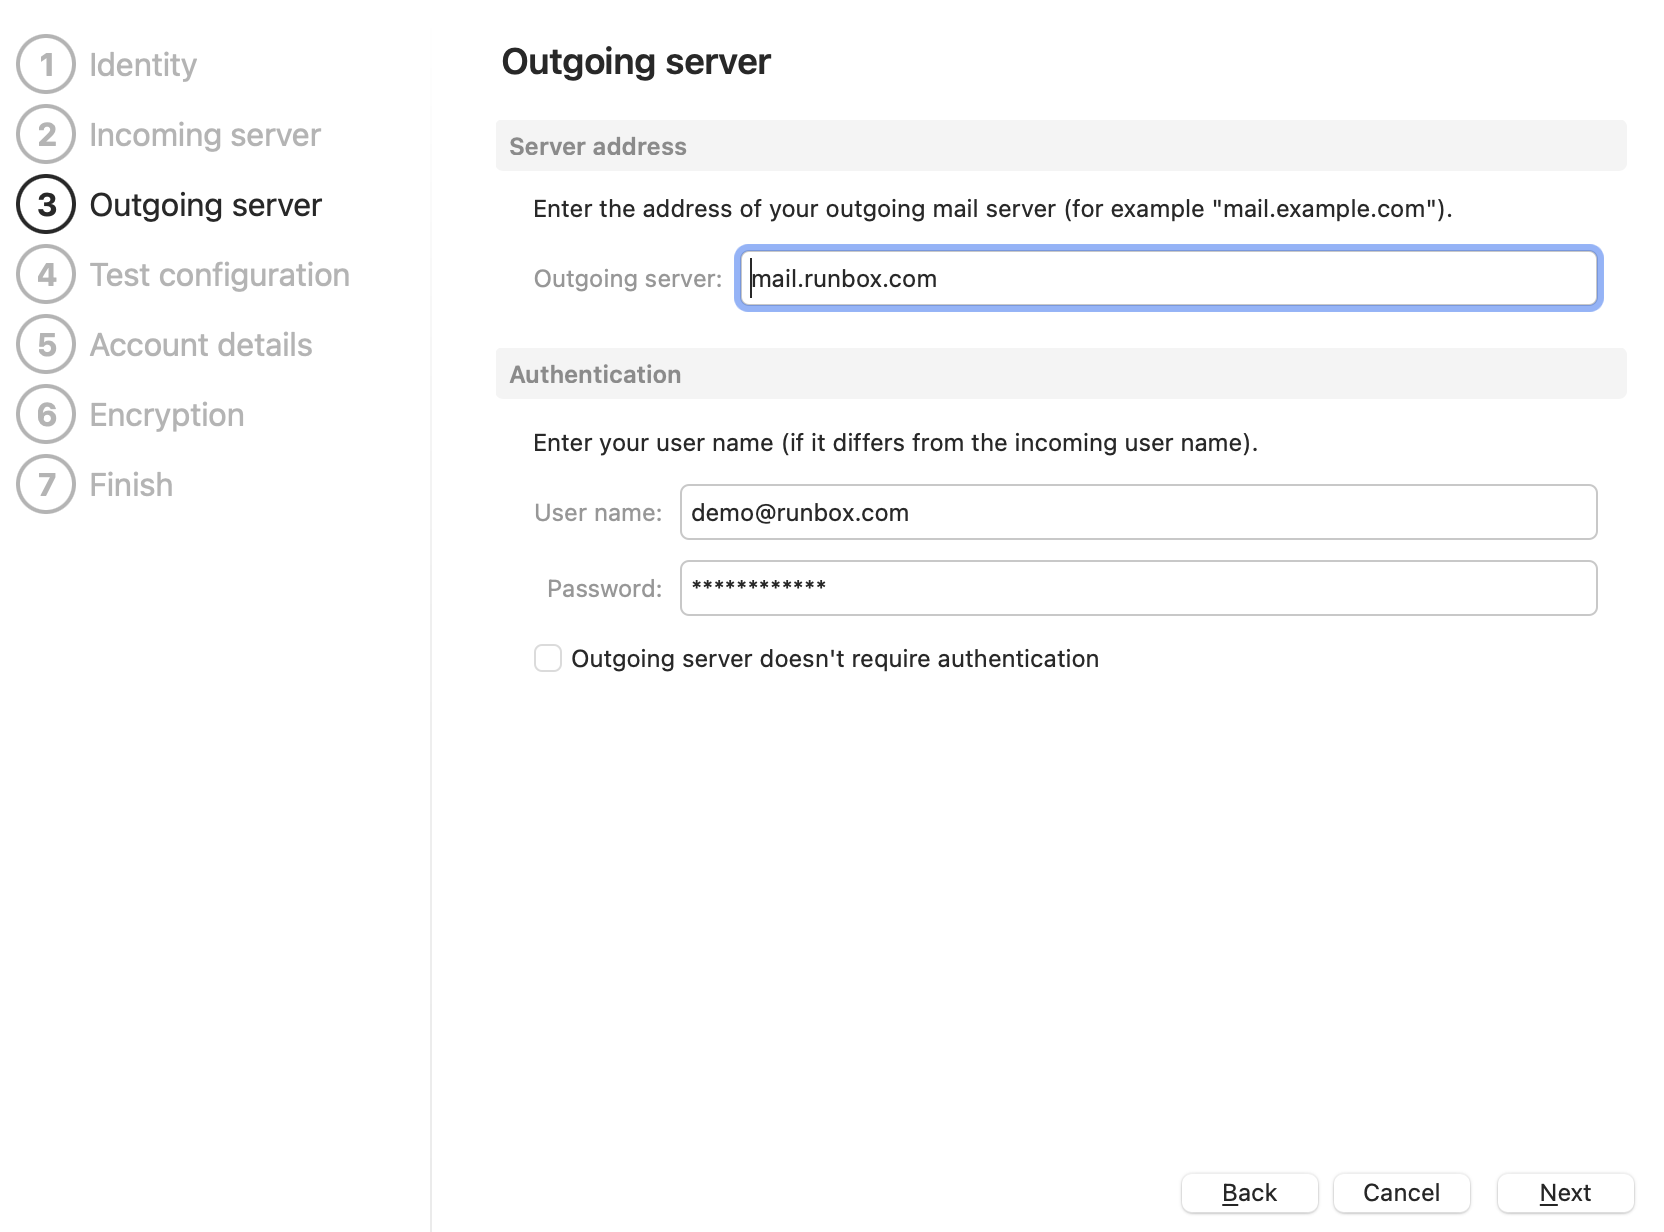
Enter the Outgoing server details along with your Username and Password and click Next.
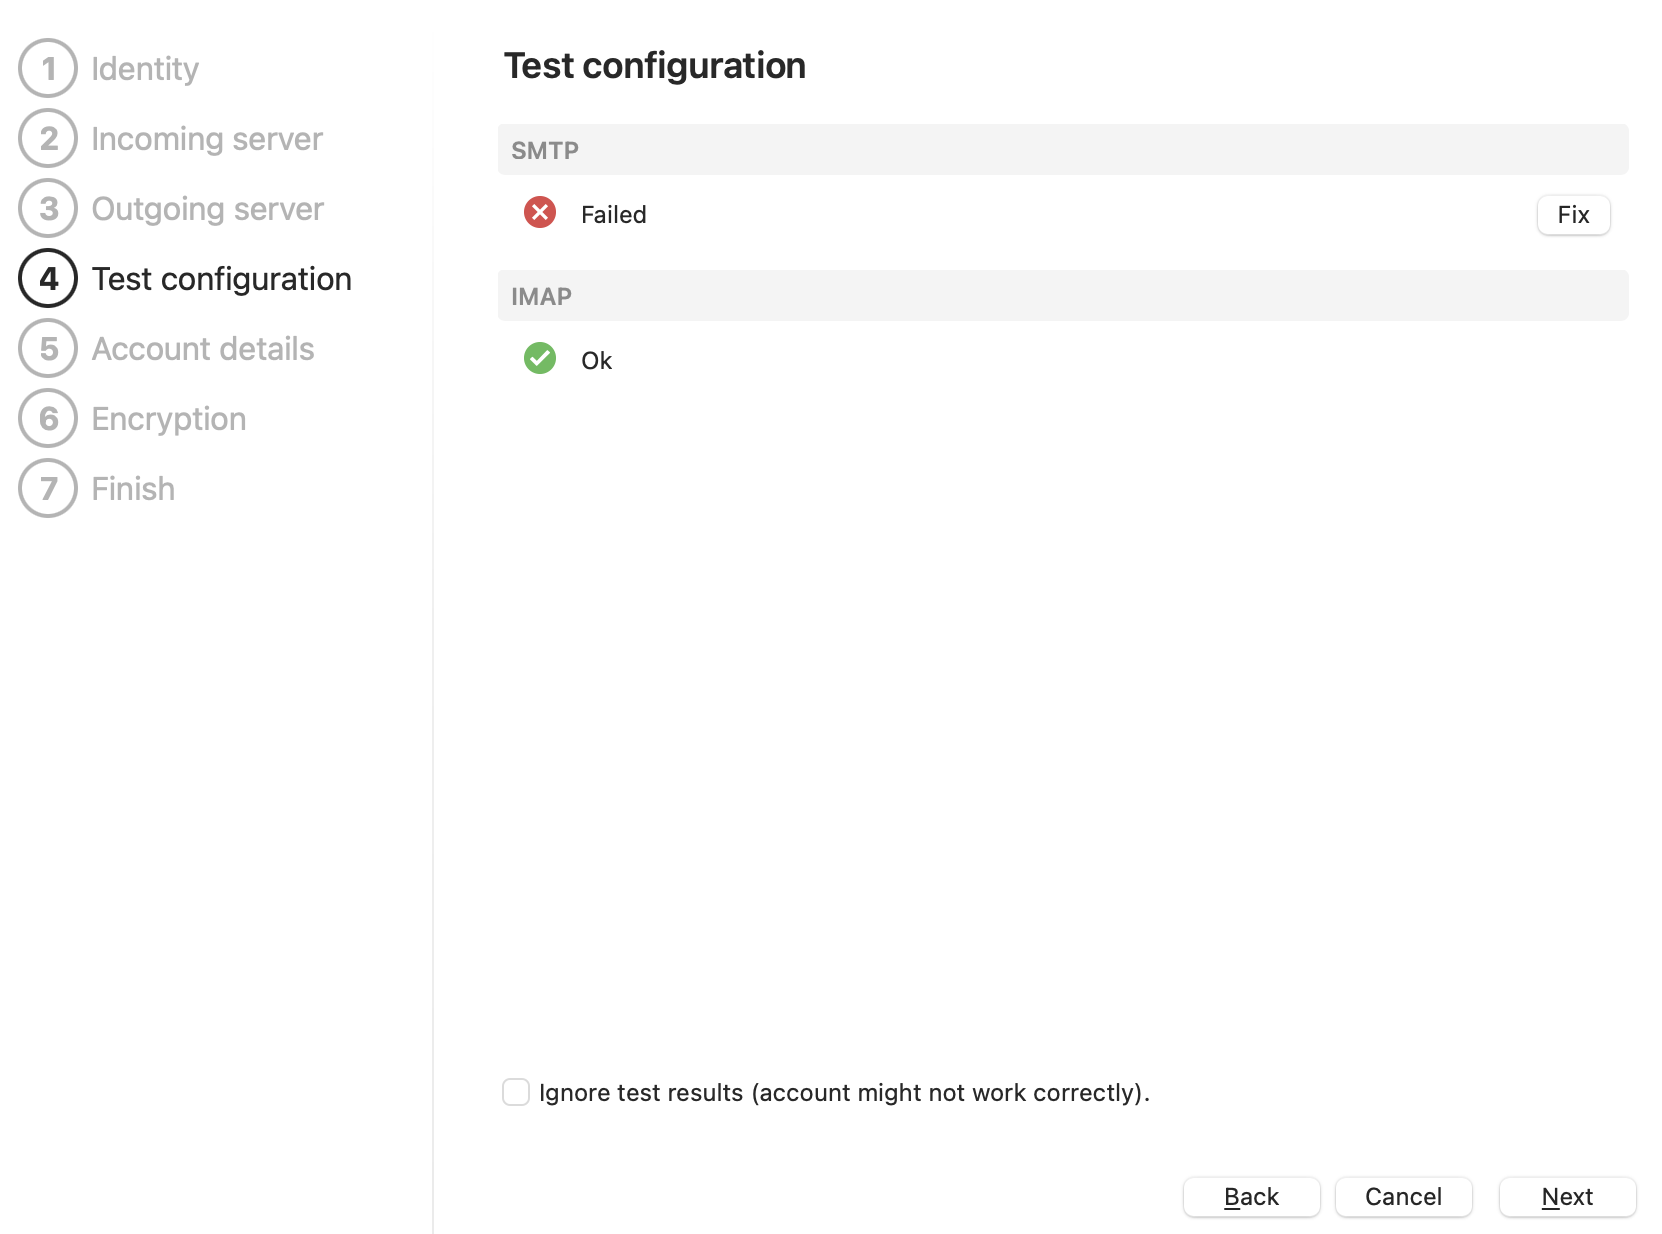
eM Client will now test the connection settings you have entered. In our experience emClient automatically chooses the wrong port and encryption settings for our servers and you will get a fail for the SMTP server as shown below. For now click the option to “Ignore test results” and we will correct these later. Click Next.
Enter Additional Required Information
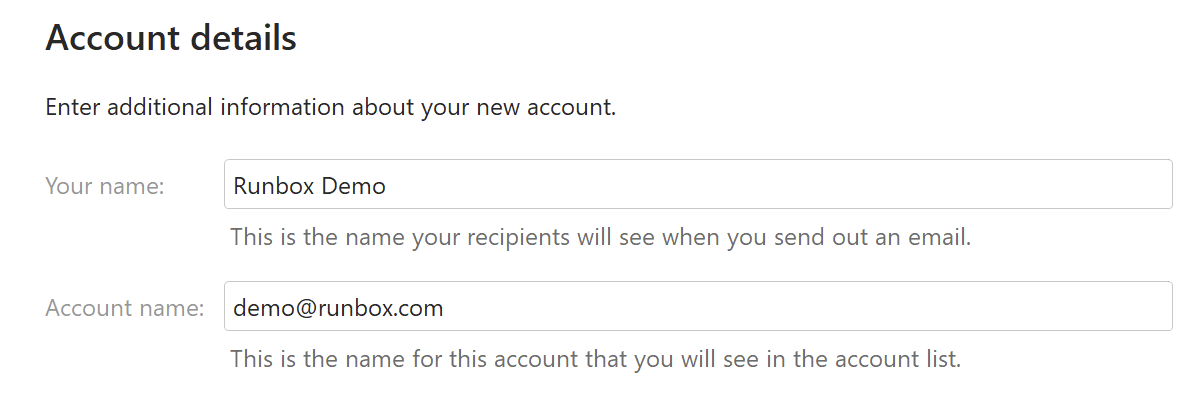
Enter Your name as you want it to appear on outgoing emails, along with a name for your account that will identify it in eM Client. In the image above we just used the email address of the account, but you can call it anything you like.
Click Next when you are done.
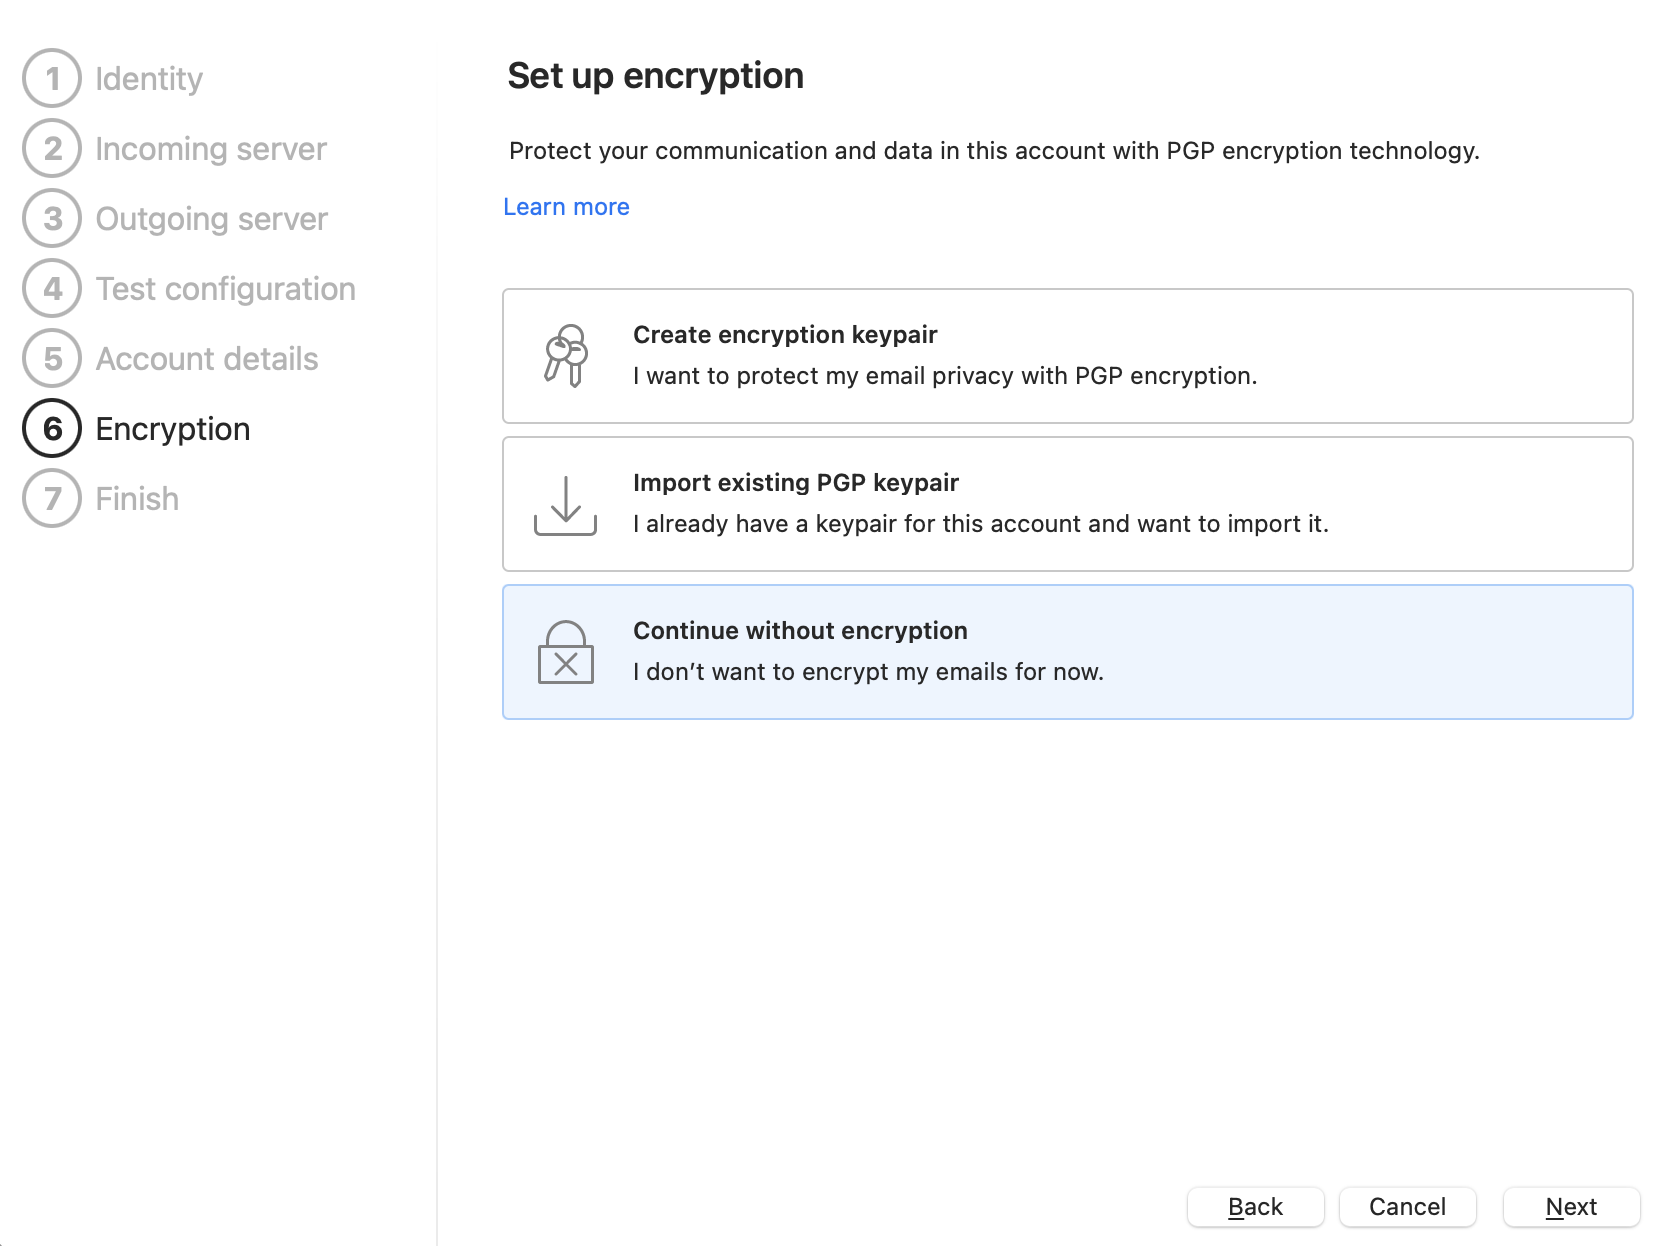
On the next screen you are asked if you want to set up encryption. This encryption is for incoming and outgoing mail and requires you and your correspondents to have PGP set up. This is not part of the set up for general email use and as such you can choose the option to “Continue without encryption” and click Next.
Note: This is nothing to do with the encryption protecting you username, password and email data as it is transferred to and from our servers and that data will still be secure.
The final screen for at this point lets you set an avatar and some settings for whether to download all your email for offline use. We recommend you use the default settings as shown in the image below.
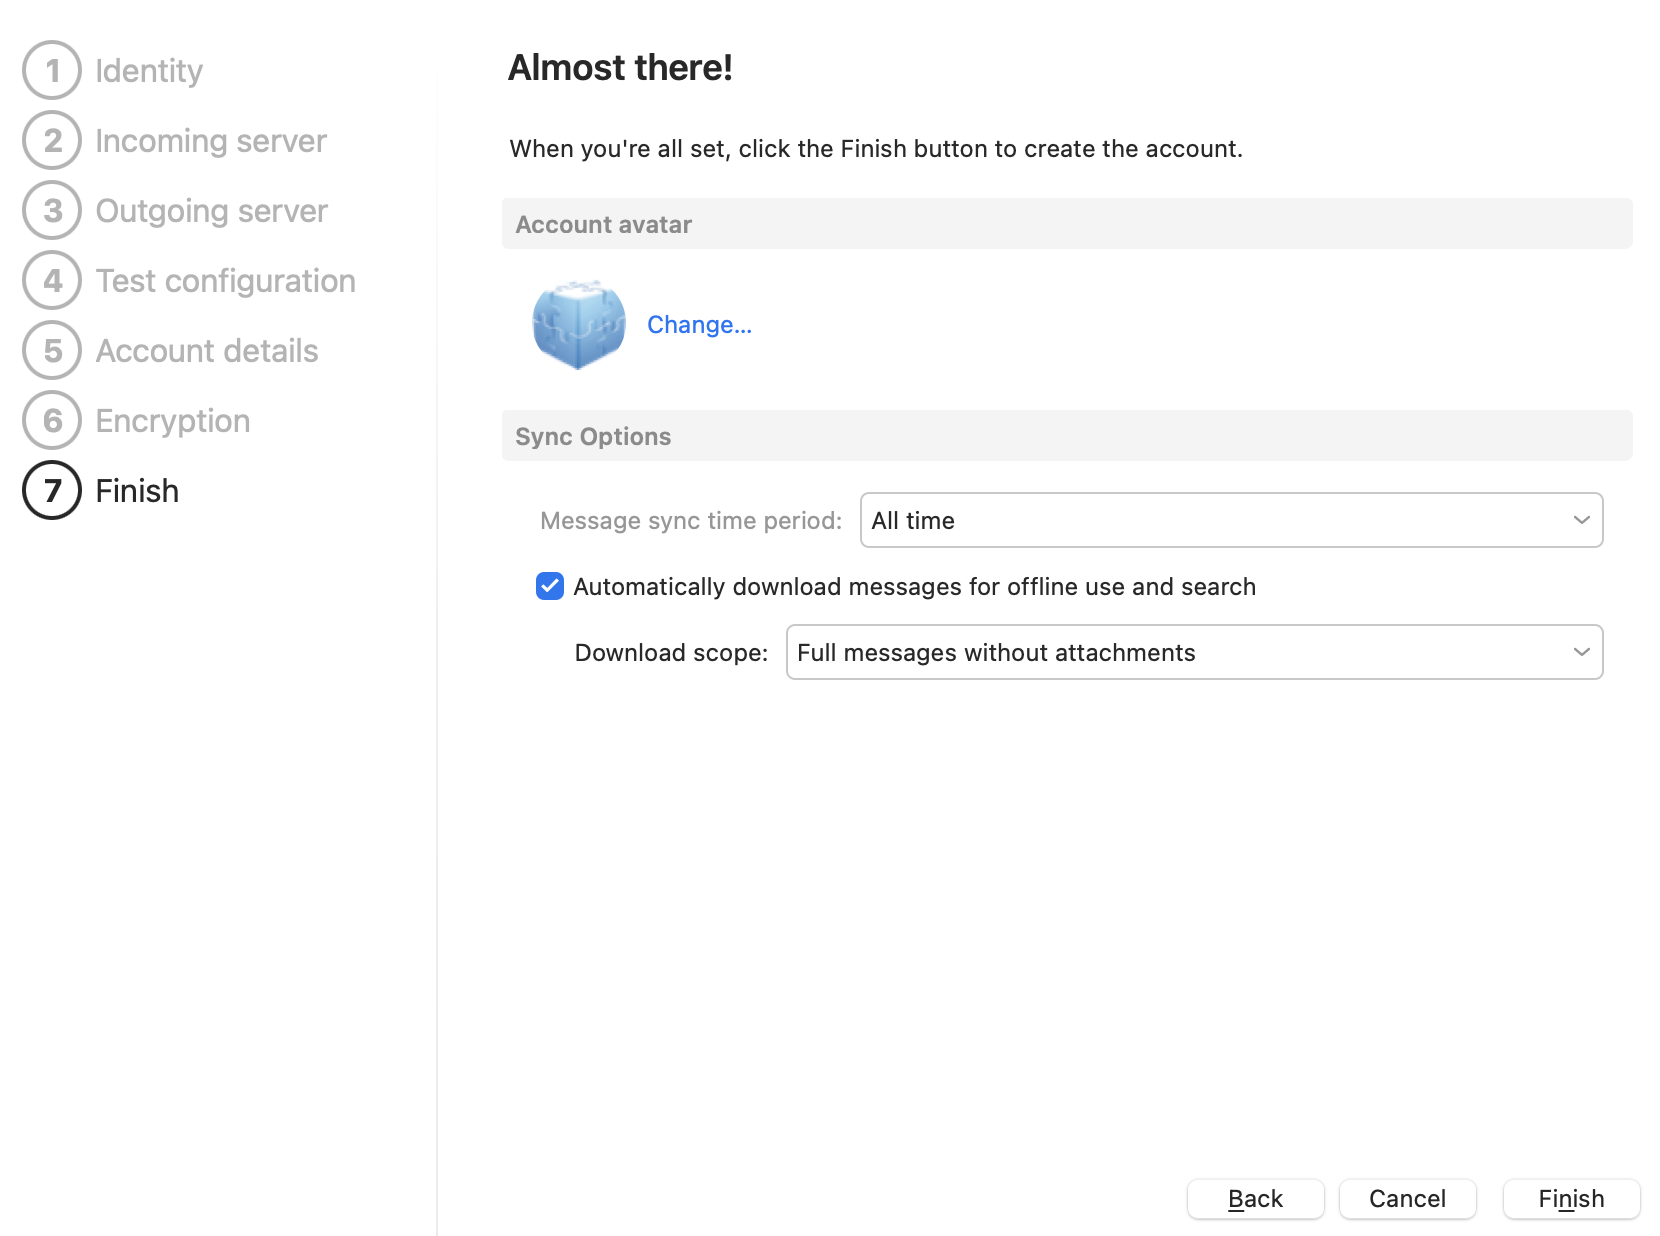
If you are happy with all the details you have entered, you can click Finish.
Configuring Server Ports and Encryption
eM Client requires some changes so that it connects securely to Runbox on the correct ports.
In the main menu go to Accounts and click on your account in the left pane.
Now click on the IMAP tab and you will see the screen below.
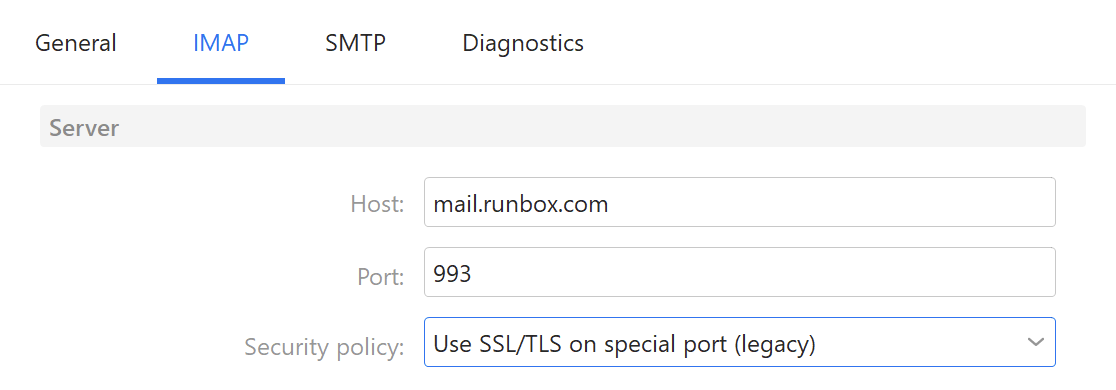
Change the server setting to mail.runbox.com if it is not set to that and change the Port setting to 993 if necessary. Check that Security policy is set to Use SSL/TLS on special port (legacy).
Now click on the SMTP tab.

Change the Port setting to 465 if necessary and check that Security policy is set to Use SSL/TLS on special port (legacy).
When you area done click Save & Close.
You have now completed setting up eM Client.